How to take pictures of the northern lights
In this Aurora Hunter post Alexander Kuznetsov shares some of his tips and techniques on how to capture photos of Northern Lights.
Cameras nowadays are constantly getting better and sometimes, when the Auroras are bright, it is even possible to take some photos of them with a cellphone. I assume, however, that this is not enough for you and you are reading this post to discover some better techniques. So, here we go!
The Basics – Stabilisation
I am a Canon shooter, so I will be showing the examples with this equipment, but by all means use whatever brand you are happy with – the photography principles are universal. To photograph the Northern Lights, however, we need to sort out the basics, and that is stabilisation.
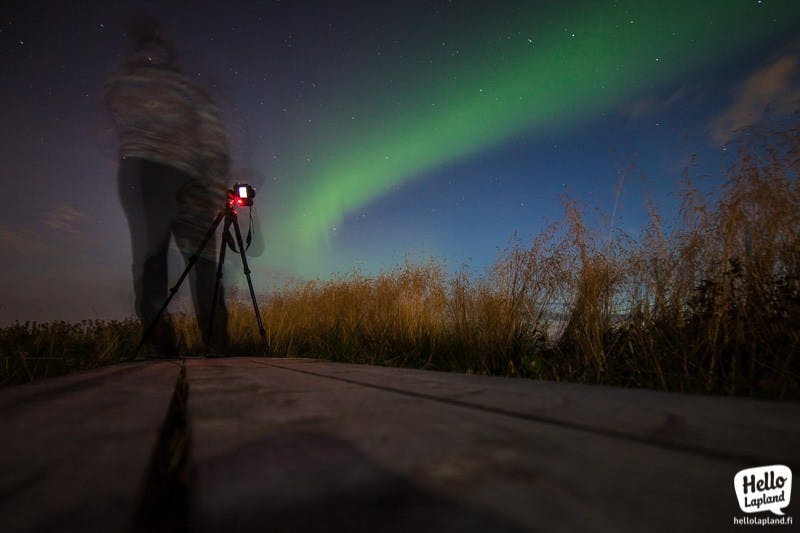
To get a successful shot of Northern Lights you will most definitely need a tripod! It is a must tool for all kinds of nocturnal and long exposure shooting.
I rely on Manfrotto tripods and nowadays have several different models to choose from, but any tripod will do really. Even something small and portable like a GorillaPod will most probably do the job, however, it will be tricky to use it in deeper snow.
Still, if you happen to witness Northern Lights and you are without a tripod, you can get creative! Put your camera on a firm surface, like the earth, or ice. I often use my backpack if I need some stabilization – it is soft enough that I can at least try to align the camera horizontally. After several tries it usually works!
The Lenses: an important part of photographing Aurora Borealis
No matter which lens you are using, it is a good idea to put the lens on manual focusing and set your focus to infinity. Removable lenses generally have their own dedicated switch to do that. If you have an in-built lens, try searching for the appropriate item in your camera settings (usually the manual mode where you dial your own settings). Adjusting focus to infinity will give you the best option to capture the nocturnal landscape, because automatic focus will not work in the darkness and is likely to mess up your shot. Also, don’t even think that using a flash will get you anywhere, unless you want to take a selfie.
Generally, photographers prefer a wide angle lens for taking photos of Aurora Borealis. They are also often used in landscape photography. If you have just a few or only one lens, try setting the focal length of a lens as wide as it goes. The smaller the millimetre number, the wider the focal length and the area that that the lens can capture. There are also so called prime lenses, which have a fixed focal length (meaning you cannot adjust optical zoom on them).
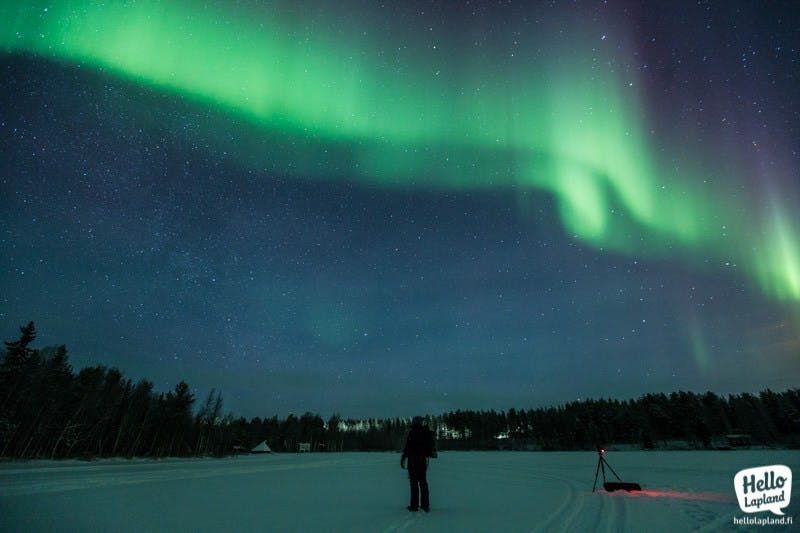
Northern Lights often appear throughout the horizon and their green arches can fill up the whole sky. A wide lens will help you capture the beauty in its entirety!
These photos are taken at the same location and about the same time, however, I used lenses with different focal length.
First image is captured with a 35 mm lens. It is otherwise a great lens, but it is not necessarily a good landscape lens, because it captures a rather small area of the scenery.
And this is 14 mm wide angle lens – the difference is huge! If you have Aurora Borealis high above the horizon and it is going really wide, it might be difficult to acquire a full image of it.
To take a photo of Aurora Borealis you will probably want to set the aperture of the lens (how much light passes through the lens) as wide as possible. Yes, wide aperture usually produces a less sharp image, however, if you have handled the basics well (your camera is sitting tightly on a tripod) and you’ve set your focus correctly to infinity (or the appropriate value), the image should be sharp enough.
The faster your lens is (the higher the amount of light that passes through it) – the better. Luminosity of the lenses is measured in F-Stops, and lenses with lower F-numbers are more luminous. So when you are setting the aperture wider, you are a getting smaller F-numbers in your settings. However, you would generally use a higher F-number at daytime shooting though (normally in the range of F5.6 – F16), which will produce a sharp image when there is enough light.
In case you are interested, my main lenses to go with Northern Lights photography are Samyang 14 mm F2.8 lens and Canon EF 16–35 F2.8 lens. They are considered ultra wide angle lenses, and produce a beautiful picture on the full frame sensor (like used in Canon 5D). You can use full-frame lenses on a smaller APS-C sensor of, lets say, Canon 60D camera, but the image will be less wide.
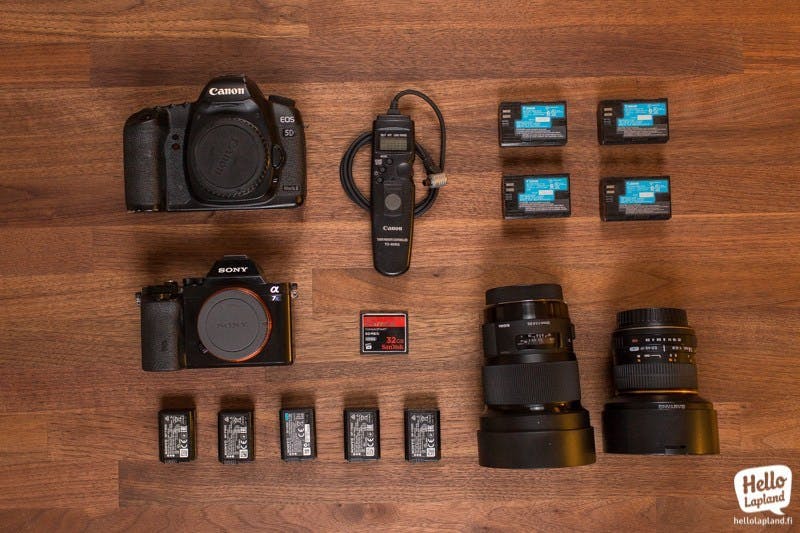
Recently I have acquired a new toy in my collection – a 20 mm Sigma Art Lens with F 1.4. That low F-number means that it is very luminous (the big black lens in this image!). As far as I know, it is the widest lens with this huge luminosity, at least at the moment. If you are planning to get yourself a lens keep in mind that this particular model is a pro lens and has some rather specific applications (like shooting Northern Lights). There is so much glass and metal in it that it weighs almost a kilo – not your average sightseeing or hiking lens.
Try looking for Samyang wide angle lenses, for example. They will give you a good bang for a buck and are available in a wide range of mounts (Canon, Nikon etc).
The Camera Settings
Because we are shooting at night, we need to expose the sensor for some time before it gets enough light to produce a good image. How much – depends on the situation, the lighting conditions, your camera and your choice of lens.
The sensitivity of the sensors is measured in ISO numbers. The ISO comes from the times when there were different film stocks with different sensitivity, but on modern digital cameras you can change the ISO setting to your liking. The higher the ISO – the higher is the sensitivity or the ability of your camera to “see in the darkness”. However, at higher ISO settings noise is introduced in the image, eventually making it unusable. A little bit of noise is ok though, because you can remove some of it when you edit your image. How high do you set your ISO and how much noise is acceptable depends on your preferences. My Canon 5D mk3 camera can produce good enough images with ISO up to 4.000, some people think even higher, but I usually go for less, because I don’t like the noise. The older version of this camera, Canon 5D mk2, in my opinion, is only good up to 2.000 ISO. In order to determine the maximum usable ISO number for your camera you have to experiment and see what works for you.
When the lens is wide open and ISO is set to its workable maximum, you set the exposure time. How much? There is no ready answer. You have to try different values to see what works for you in the specific conditions.
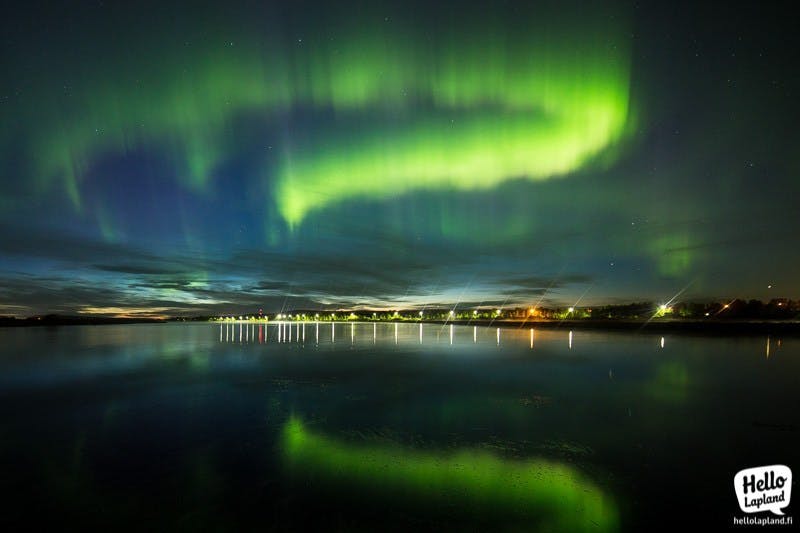
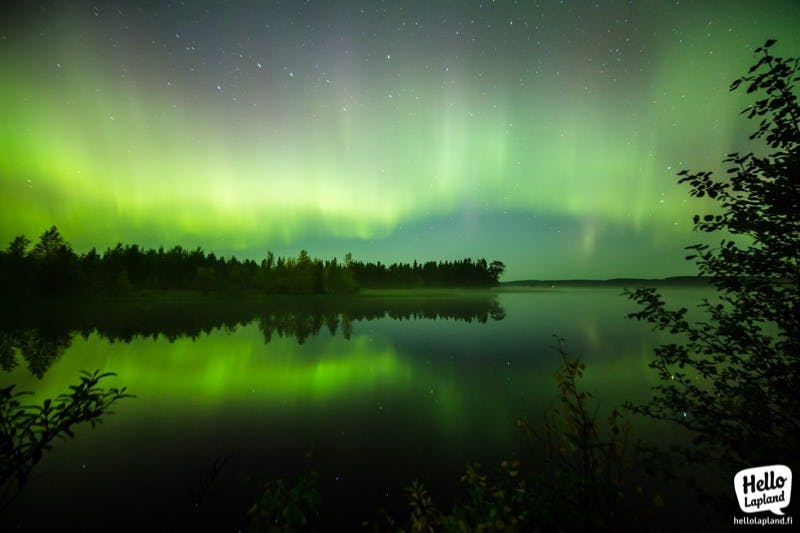
I have taken Aurora Borealis photos with exposure time ranging from 1 sec to 30 sec, because the conditions were different. In Autumn, when the land is still dark and without snow, the exposure time is usually the longest. Often a 20–30 sec exposure is a must to produce an image. I took the next photo in October and apart from the Auroras dancing in the skies it was pitch black. It took 25 seconds and some heavy post editing to produce this image:
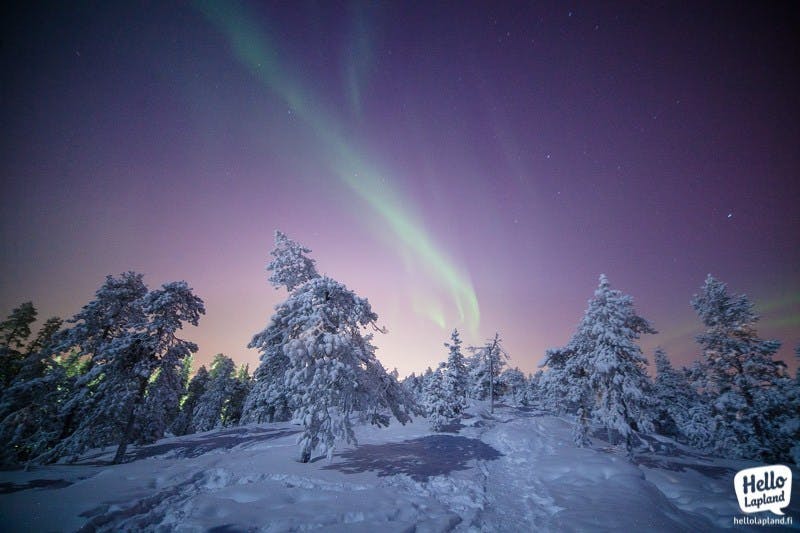
In Winter, when there is lots of snow, the exposure time will be less. If I am in a forest with no artificial light sources, an exposure time of 8–15 seconds is an average number. Keep in mind that these photos have post processing and anyway it all depends on how powerful the Auroras are.
If there is snow and the moon is full, you will do much faster exposure times, because snow reflects light very well. A full moon will also make it more difficult to see Aurora Borealis, because they will be competing with a much stronger source of light.
Remember to set your camera to also capture raw images (instead of just jpegs). That way you will have a full amount of information to work with when editing. If you know how to do it, of course.
Overcoming the cold
Often you will end up shooting Northern Lights in some very cold conditions. You will need to keep yourself and your camera batteries warm. If you don’t know how to dress for Winter in Lapland, here is some valuable info. Remember, that being our there in the wild forest in the middle of the night is not a joke. You might explore some more or less urban locations (I wrote about such places in Rovaniemi), or choose to go out there in the wilderness with a qualified tour operator such as Lapland Safaris.
Generally, the better and more expensive your camera is, the better and more powerful are its batteries. With LP-E6 batteries, dedicated to Canon pro-level gear that I use, I did not experience any trouble even at –30°C (–22ºF) and colder. Yes, they don't last as long as they normally would, but they still work flawlessly (at least for me). By this I mean original batteries, and not the cheaper no-name versions. They generally loose their capacity to store charge very quickly and in my opinion it is worth investing in at least several original batteries. They will last you many years!
Less expensive and more consumer-like cameras come with lower capacity batteries. Sony A7s, despite its great qualities for Aurora photography, is a such camera. Its NP-FW50 batteries hold only half the charge of Canon’s LP-E6.
When you insert a “cold” battery in the camera, it might show there is no charge left or it would not start at all!
To overcome this, you might want to keep these batteries warm. If you are out in the forest, the only good source of warmth is yourself. I usually keep some of the batteries closer to my body, and take them out only when I need to change. A good choice is an inside pocket of your vest. Outer pockets of trousers or a winter coat are not very warm places.
One more tip that I can give you is a taking a thermos bottle with hot tea with you – it can be a real saver, when you are waiting for hours in the forest for Auroras to appear!
Good luck Aurora hunting!
Have a look of our northern lights activities here. Book your experience now.
Text and pictures: Alexander Kuznetsov for Lapland Safaris
